Project Zomboid: How to Board Up Windows
Securing your shelter in the zombie-infested world of Project Zomboid is crucial. While finding a safe haven is the first step, fortifying it against the undead hordes is a whole different challenge. This guide focuses on a fundamental defense method: barricading windows.
Creating Basic Window Barricades in Project Zomboid
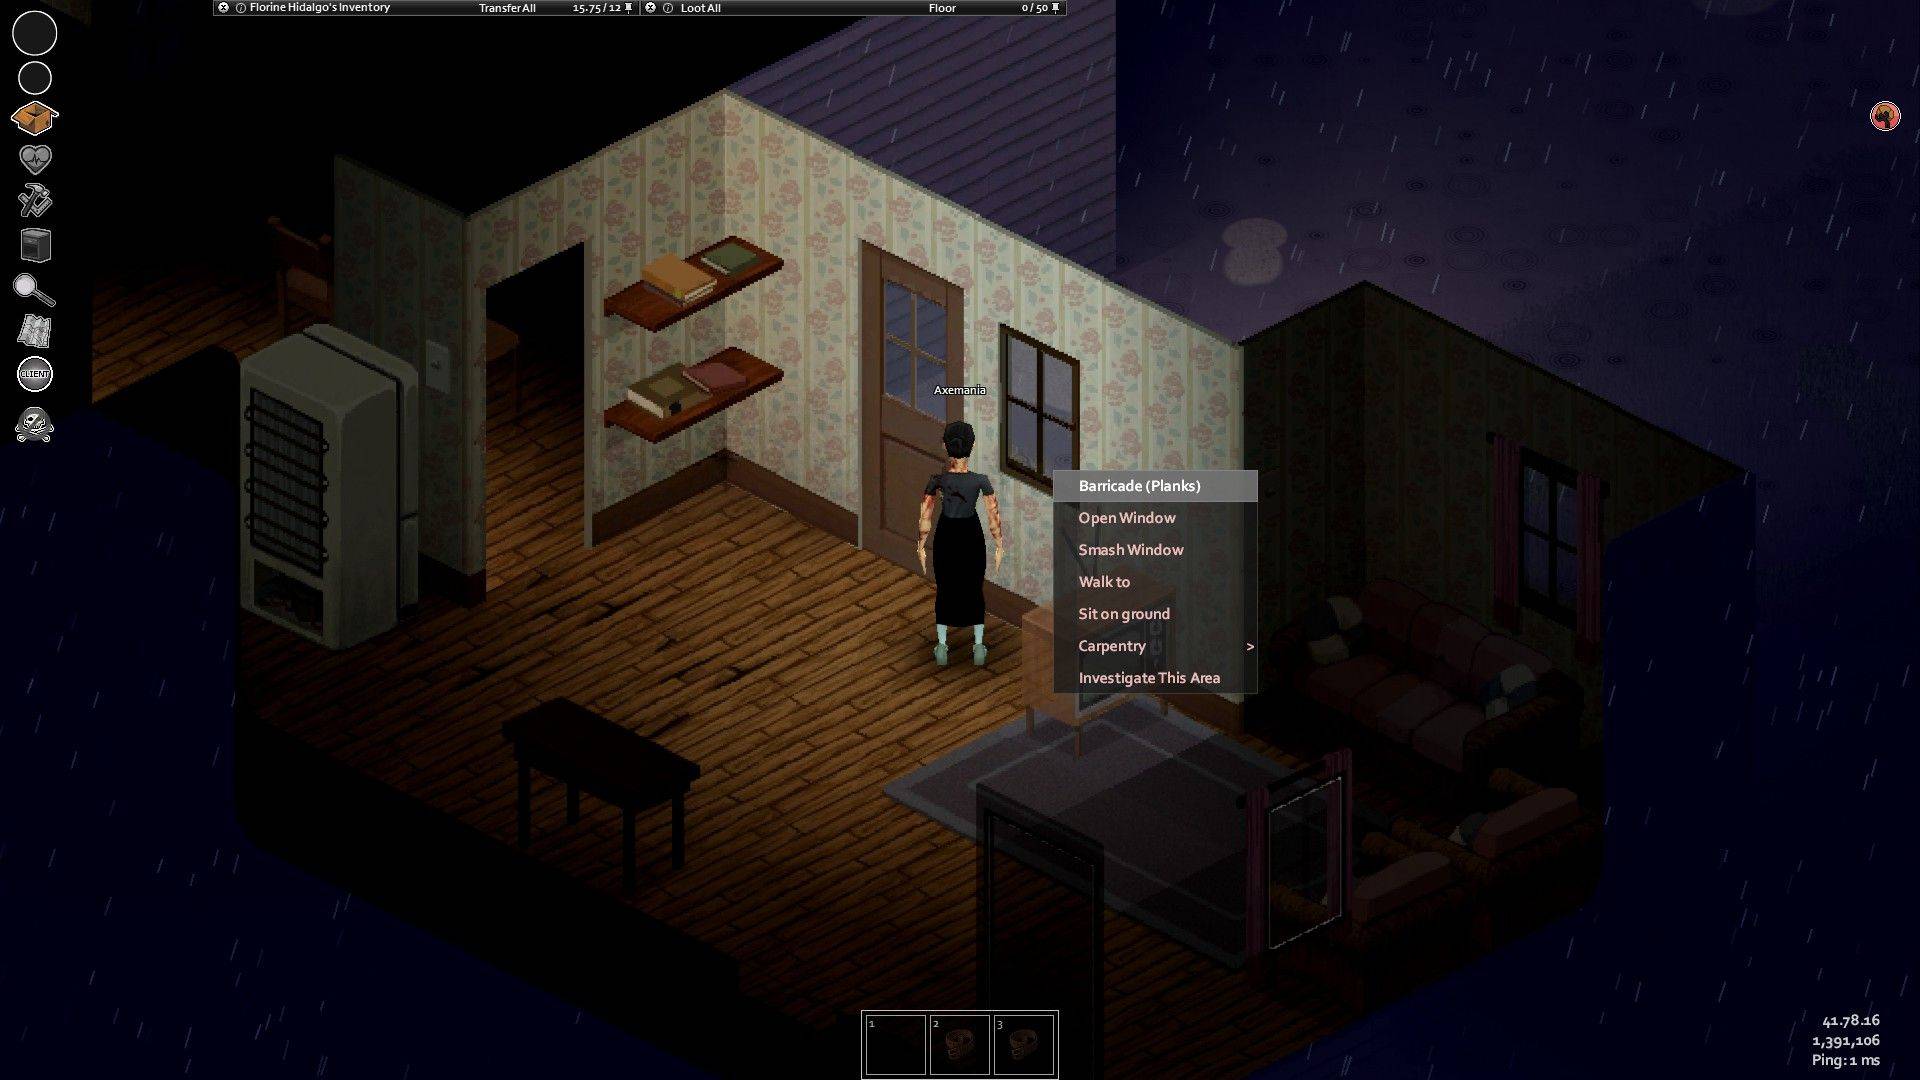 To effectively board up your windows, gather the necessary materials: one wooden plank, a hammer, and four nails. Once you've collected these, right-click the target window. Your character will automatically begin securing the plank. Each window can support up to four planks for enhanced protection.
Locating essential supplies is straightforward. Hammers and nails are typically found in toolboxes, garages, sheds, closets, and similar locations. Wooden planks are commonly discovered at construction sites, or you can salvage them by dismantling wooden furniture (shelves, chairs, etc.). Administrators can utilize the "/additem" command to spawn items directly.
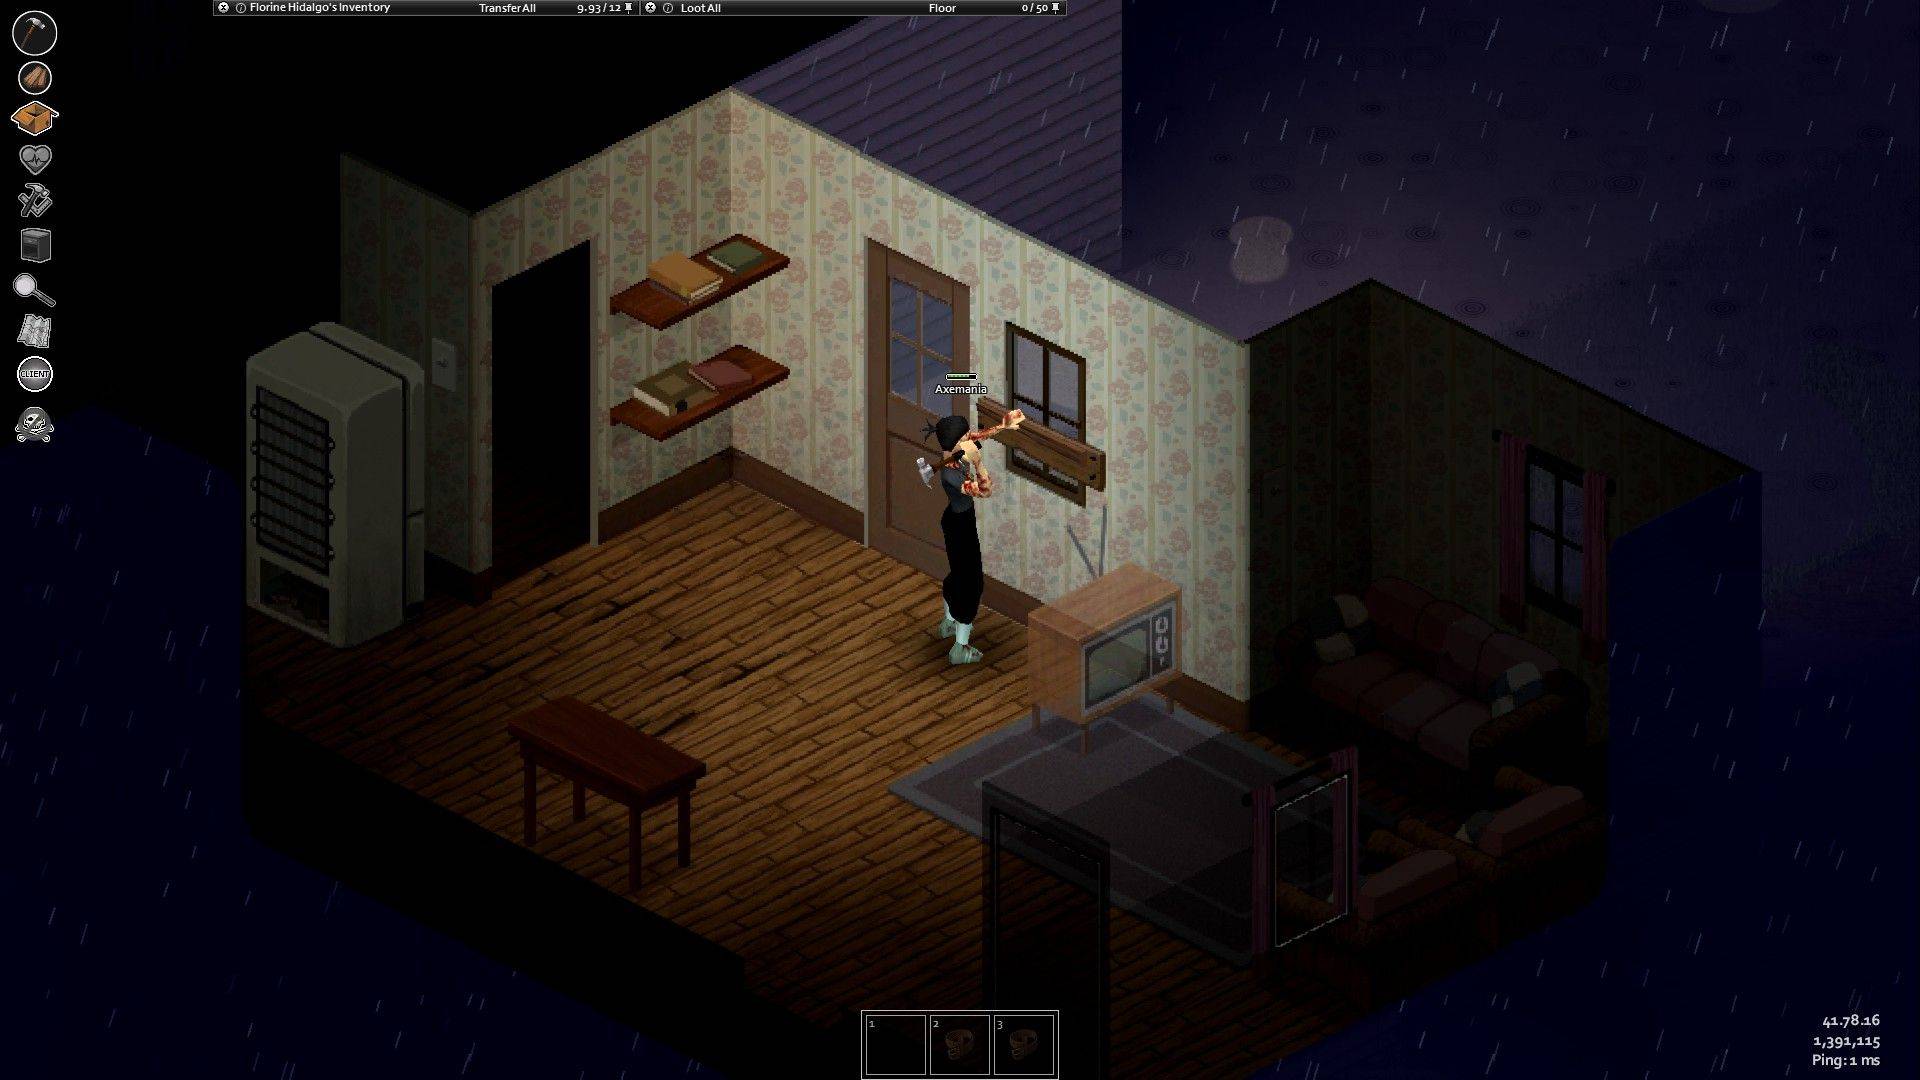 Barricaded windows significantly hinder zombie access compared to unguarded windows. The more planks installed, the more time it takes for zombies to breach the defense. To remove planks, right-click the boards and select "Remove." Note that you'll need a claw hammer or crowbar to do this.
Larger furniture items (bookshelves, refrigerators) are ineffective as window barricades; characters and zombies will pass through them. While these items are unsuitable for defense, knowing how to move furniture remains a useful skill for interior arrangement.
For superior barricades, consider using metal bars or sheets, but remember that sufficient Metalworking skill is required for their construction.


-
1

Android Welcomes Virtual Pet Haven: Pet Society Island
Jan 09,2025
-
2
A demo of the fan-made sequel Half-Life 2 Episode 3 Interlude has been released
Jan 05,2025
-
3

Sword Master Story Is Celebrating Its 4th Anniversary with Tons of Freebies!
Jan 09,2025
-
4

Professor Doctor Jetpack is a Pixel Art Precision Platformer Now Out on Android
Dec 30,2024
-
5

Teamfight Tactics 14.14 Patch Notes: Inkborn Fables Finale
Jan 11,2025
-
6

Palworld: How To Get To Feybreak Island
Jan 08,2025
-
7

Andrew Hulshult 2024 Interview: DOOM IDKFA, Blood Swamps, DUSK, Iron Lung, AMID EVIL, Music, Guitars, Cold Brew Coffee, and More
Jan 07,2025
-
8

Switch 2: Summer 2024 Launch Expected
Dec 11,2024
-
9

Annapurna's Entire Game Division Quits, Leaving Future Uncertain
Jan 09,2025
-
10

Cat Warriors Time-Travel to Sengoku Era in Latest Ad Campaign
Dec 12,2024
-
Download

Ben 10 A day with Gwen
Casual / 47.41M
Update: Dec 24,2024
-
Download

Evil Lands: Online Action RPG
Role Playing / 118.55M
Update: Apr 27,2022
-
Download

Hero Clash
Puzzle / 372.83M
Update: Oct 02,2023
-
4
Lost Fairyland: Undawn
-
5
The Lewd Knight
-
6
I Want to Pursue the Mean Side Character!
-
7
Angry Birds Match 3
-
8
Spades - Batak Online HD
-
9
Bar “Wet Dreams”
-
10
Starlight Princess- Love Balls